How to Install Nginx on CentOS Stream 9
Nginx, a powerful and high-performance web server, reverse proxy, and load balancer, has gained widespread popularity due to its ability to handle high traffic loads with ease. If you’re running CentOS Stream, the rolling-release variant of CentOS, installing Nginx is a straightforward process. In this article, we will guide you through the steps needed to install and configure Nginx on CentOS Stream 9.
Prerequisites
Before we begin, make sure you have the following:
- A server running CentOS Stream.
- Root or sudo privileges to install packages and edit configuration files.
- A basic understanding of the terminal.
Step 1: Update Your System
First, ensure your system is up to date. This can be done by running the following commands:
sudo dnf update -y
Step 2: Install EPEL Repository
Nginx is not included in the default CentOS Stream repositories. Therefore, we need to enable the EPEL (Extra Packages for Enterprise Linux) repository:
$ sudo dnf install epel-release -y
The ouput will be as shown below :
ramansah@dev03 ~]$ sudo dnf install epel-release -y
[sudo] password for ramansah:
Last metadata expiration check: 0:04:18 ago on Sat 29 Jun 2024 09:40:31 PM WIB.
Dependencies resolved.
==================================================================================================
 Package                      Architecture      Version            Repository                Size
==================================================================================================
Installing:
 epel-release                 noarch            9-7.el9            extras-common             19 k
Installing weak dependencies:
 epel-next-release            noarch            9-7.el9            extras-common            8.1 k

Transaction Summary
==================================================================================================
Install  2 Packages

Total download size: 27 k
Installed size: 29 k
Downloading Packages:
(1/2): epel-next-release-9-7.el9.noarch.rpm                       104 kB/s | 8.1 kB     00:00
(2/2): epel-release-9-7.el9.noarch.rpm                            206 kB/s |  19 kB     00:00
--------------------------------------------------------------------------------------------------
Total                                                              10 kB/s |  27 kB     00:02
CentOS Stream 9 - Extras packages                                 277 kB/s | 2.1 kB     00:00
Importing GPG key 0x1D997668:
 Userid     : "CentOS Extras SIG (https://wiki.centos.org/SpecialInterestGroup) <security@centos.org>"
 Fingerprint: 363F C097 2F64 B699 AED3 968E 1FF6 A217 1D99 7668
 From       : /etc/pki/rpm-gpg/RPM-GPG-KEY-CentOS-SIG-Extras-SHA512
Key imported successfully
Running transaction check
Transaction check succeeded.
Running transaction test
Transaction test succeeded.
Running transaction
  Preparing        :                                                                          1/1
  Installing       : epel-release-9-7.el9.noarch                                              1/2
  Running scriptlet: epel-release-9-7.el9.noarch                                              1/2
Many EPEL packages require the CodeReady Builder (CRB) repository.
It is recommended that you run /usr/bin/crb enable to enable the CRB repository.

  Installing       : epel-next-release-9-7.el9.noarch                                         2/2
  Running scriptlet: epel-next-release-9-7.el9.noarch                                         2/2
  Verifying        : epel-next-release-9-7.el9.noarch                                         1/2
  Verifying        : epel-release-9-7.el9.noarch                                              2/2

Installed:
  epel-next-release-9-7.el9.noarch                   epel-release-9-7.el9.noarch

Complete!
Step 3: Install Nginx
With the EPEL repository enabled, you can now install Nginx using the following command:
ramansah@dev03 ~]$ sudo dnf install nginx -y
Extra Packages for Enterprise Linux 9 - x86_64                    1.6 MB/s |  21 MB     00:13
Extra Packages for Enterprise Linux 9 openh264 (From Cisco) - x86 519  B/s | 2.5 kB     00:04
Extra Packages for Enterprise Linux 9 - Next - x86_64             158 kB/s | 274 kB     00:01
Dependencies resolved.
==================================================================================================
 Package                     Architecture    Version                     Repository          Size
==================================================================================================
Installing:
 nginx                       x86_64          1:1.20.1-16.el9             appstream           37 k
Installing dependencies:
 centos-logos-httpd          noarch          90.8-1.el9                  appstream          1.5 M
 nginx-core                  x86_64          1:1.20.1-16.el9             appstream          569 k
 nginx-filesystem            noarch          1:1.20.1-16.el9             appstream          9.3 k

Transaction Summary
==================================================================================================
Install  4 Packages

Total download size: 2.1 M
Installed size: 4.3 M
Downloading Packages:
(1/4): nginx-1.20.1-16.el9.x86_64.rpm                             667 kB/s |  37 kB     00:00
(2/4): nginx-filesystem-1.20.1-16.el9.noarch.rpm                  408 kB/s | 9.3 kB     00:00
(3/4): nginx-core-1.20.1-16.el9.x86_64.rpm                        1.5 MB/s | 569 kB     00:00
(4/4): centos-logos-httpd-90.8-1.el9.noarch.rpm                   3.0 MB/s | 1.5 MB     00:00
--------------------------------------------------------------------------------------------------
Total                                                             1.0 MB/s | 2.1 MB     00:02
Running transaction check
Transaction check succeeded.
Running transaction test
Transaction test succeeded.
Running transaction
  Preparing        :                                                                          1/1
  Running scriptlet: nginx-filesystem-1:1.20.1-16.el9.noarch                                  1/4
  Installing       : nginx-filesystem-1:1.20.1-16.el9.noarch                                  1/4
  Installing       : nginx-core-1:1.20.1-16.el9.x86_64                                        2/4
  Installing       : centos-logos-httpd-90.8-1.el9.noarch                                     3/4
  Installing       : nginx-1:1.20.1-16.el9.x86_64                                             4/4
  Running scriptlet: nginx-1:1.20.1-16.el9.x86_64                                             4/4
  Verifying        : centos-logos-httpd-90.8-1.el9.noarch                                     1/4
  Verifying        : nginx-1:1.20.1-16.el9.x86_64                                             2/4
  Verifying        : nginx-core-1:1.20.1-16.el9.x86_64                                        3/4
  Verifying        : nginx-filesystem-1:1.20.1-16.el9.noarch                                  4/4

Installed:
  centos-logos-httpd-90.8-1.el9.noarch           nginx-1:1.20.1-16.el9.x86_64
  nginx-core-1:1.20.1-16.el9.x86_64              nginx-filesystem-1:1.20.1-16.el9.noarch

Complete!
Step 4: Start and Enable Nginx
After the installation is complete, start the Nginx service and enable it to start on boot:
$ sudo systemctl start nginx
$ sudo systemctl enable nginx
Output :
ramansah@dev03 ~]$ sudo systemctl start nginx
[sudo] password for ramansah:
[ramansah@dev03 ~]$ sudo systemctl enable nginx
Created symlink /etc/systemd/system/multi-user.target.wants/nginx.service → /usr/lib/systemd/system/nginx.service.
Step 5: Verify Nginx Installation
To verify that Nginx is running, you can check the status of the Nginx service:
$ sudo systemctl status nginx
[ramansah@dev03 ~]$ sudo systemctl start nginx
[sudo] password for ramansah:
[ramansah@dev03 ~]$ sudo systemctl enable nginx
Created symlink /etc/systemd/system/multi-user.target.wants/nginx.service → /usr/lib/systemd/system/nginx.service.
[ramansah@dev03 ~]$ sudo systemctl status nginx
● nginx.service - The nginx HTTP and reverse proxy server
     Loaded: loaded (/usr/lib/systemd/system/nginx.service; enabled; preset: disabled)
     Active: active (running) since Sat 2024-06-29 21:57:11 WIB; 18s ago
   Main PID: 72296 (nginx)
      Tasks: 3 (limit: 22828)
     Memory: 3.0M
        CPU: 54ms
     CGroup: /system.slice/nginx.service
             ├─72296 "nginx: master process /usr/sbin/nginx"
             ├─72297 "nginx: worker process"
             └─72298 "nginx: worker process"

Jun 29 21:57:11 dev03.infodiginet systemd[1]: Starting The nginx HTTP and reverse proxy server...
Jun 29 21:57:11 dev03.infodiginet nginx[72294]: nginx: the configuration file /etc/nginx/nginx.co>
Jun 29 21:57:11 dev03.infodiginet nginx[72294]: nginx: configuration file /etc/nginx/nginx.conf t>
Jun 29 21:57:11 dev03.infodiginet systemd[1]: Started The nginx HTTP and reverse proxy server.
You should see output indicating that the service is active and running.
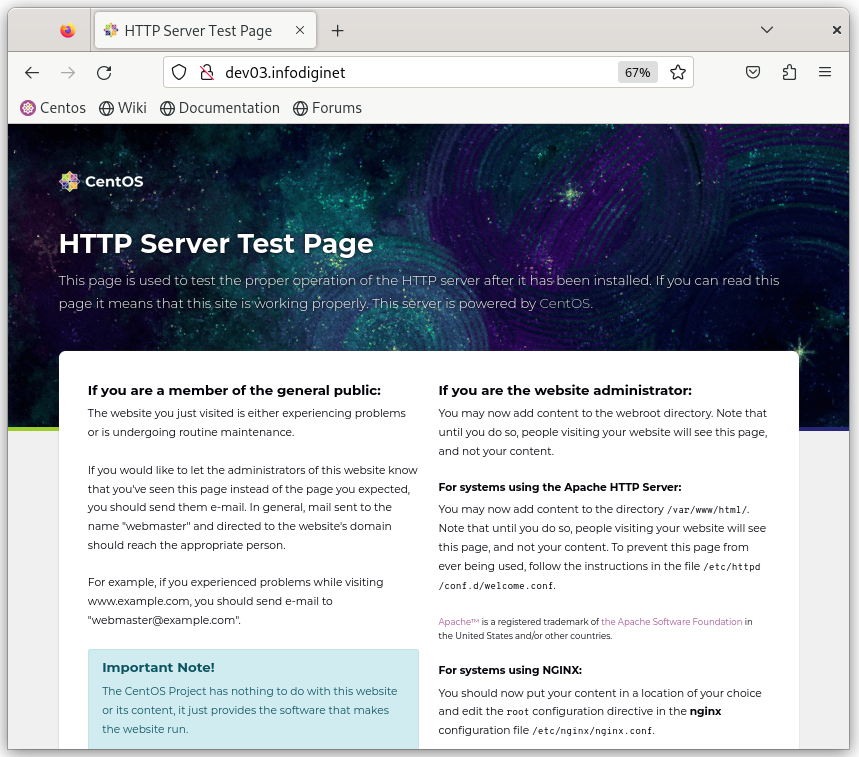
Additionally, you can open a web browser and enter your server’s IP address. You should see the Nginx default welcome page, confirming that Nginx is installed and running correctly.
Step 6: Configure Firewall
If you have a firewall enabled, you’ll need to allow traffic on HTTP (port 80) and HTTPS (port 443) to access the Nginx server. Use the following commands to configure the firewall:
$ sudo firewall-cmd --permanent --zone=public --add-service=http
$ sudo firewall-cmd --permanent --zone=public --add-service=https
$ sudo firewall-cmd --reload
Step 7: Basic Nginx Configuration
The default Nginx configuration file is located at /etc/nginx/nginx.conf. Before making any changes, it’s a good practice to create a backup of the original configuration file:
$ sudo cp /etc/nginx/nginx.conf /etc/nginx/nginx.conf.backup
To edit the Nginx configuration file, use your preferred text editor:
$ sudo nano /etc/nginx/nginx.conf
Conclusion
Congratulations! You have successfully installed and configured Nginx on CentOS Stream. This setup will serve as a solid foundation for your web applications. Nginx’s flexibility and performance will help you handle various web traffic scenarios with ease.