Installing Apache Flink On Ubuntu 20.04
In this short tutorial, we will learn how to install Apache Flink on Ubuntu 22.04 Linux operating system. Apache Flink is distributed and stream data flow engine which processes data at lightening fast speed. Apache Flink can be deployed on local machine, on cluster (it can run on YARN), or can be deployed in the cloud. It is written in Java and Scala. In this Flink installation tutorial, we will see how to install Apache Flink in standalone mode and how to run sample programs.
Apache Flink Installation On Ubuntu 22.04
In this tutorial we will learn how to deploy Apache Flink version 1.16.0 on Ubuntu 22.04 operating system.
Prerequisites
Before we are going to install Apache Flink on Ubuntu 20.04 LTS operating system, we have to prepare the environment first as mentioned below :
- Ubuntu 20.04 LTS operating system
ramans@infodiginet:~$ hostnamectl
      Static hostname: infodiginet
            Icon name: computer-vm
              Chassis: vm
           Machine ID: 52a41aeb86f748099e84d9f42db2dc61
              Boot ID: 7bdcf8acb2774487bdf2959dbf3e5900
       Virtualization: vmware
     Operating System: Ubuntu 20.04 LTS
               Kernel: Linux 5.15.0-53-generic
         Architecture: x86-64
- An ordinary system user with sudo privilege
- Java 11 installed on the system
ramans@infodiginet:~$ java --version
openjdk 11.0.17 2022-10-18
OpenJDK Runtime Environment (build 11.0.17+8-post-Ubuntu-1ubuntu222.04)
OpenJDK 64-Bit Server VM (build 11.0.17+8-post-Ubuntu-1ubuntu222.04, mixed mode, sharing)
The installation will be consist of several steps, namely :
- Download Flink Source file
- Unpack Apache Flink Source file
- Start a Local Flink Cluster
- Submit a Job (Example)
- Stop a Local Cluster
The detailed tasks will be explained in the sub-chapter below.
1. Download Flink Source file
In this tutorial we will download the latest stable Apache Flink, version 1.6.0 . By using wget command line, we will download the source file :
$ wget https://downloads.apache.org/flink/flink-1.16.0/flink-1.16.0-bin-scala_2.12.tgze
Output :
ramans@infodiginet:~$ wget https://downloads.apache.org/flink/flink-1.16.0/flink-1.16.0-bin-scala_2.12.tgz
--2022-12-14 14:39:32--  https://downloads.apache.org/flink/flink-1.16.0/flink-1.16.0-bin-scala_2.12.tgz
Resolving downloads.apache.org (downloads.apache.org)... 88.99.95.219, 135.181.214.104, 2a01:4f8:10a:201a::2, ...
Connecting to downloads.apache.org (downloads.apache.org)|88.99.95.219|:443... connected.
HTTP request sent, awaiting response... 200 OK
Length: 476016291 (454M) [application/x-gzip]
Saving to: ‘flink-1.16.0-bin-scala_2.12.tgz’

flink-1.16.0-bin-scala_2.12. 100%[==============================================>] 453.96M  1.72MB/s    in 5m 21s

2022-12-14 14:44:54 (1.41 MB/s) - ‘flink-1.16.0-bin-scala_2.12.tgz’ saved [476016291/476016291]
2. Unpack Apache Flink Source file
After the source file is already downloaded, then we will unpack it and move to the /opt directory.
$ tar -xzf flink-1.16.0-bin-scala_2.12.tgz
$ cd flink-1.16.0/
$ ls -ltr
Output :
ramans@infodiginet:~$ cd flink-1.16.0/
ramans@infodiginet:~/flink-1.16.0$ pwd
/home/ramans/flink-1.16.0
ramans@infodiginet:~/flink-1.16.0$ ls -ltr
total 568
-rw-r--r--  1 ramans ramans  11357 Dec  7  2020 LICENSE
-rw-r--r--  1 ramans ramans   1309 Dec  7  2020 README.txt
drwxr-xr-x  2 ramans ramans   4096 Oct 19 23:58 conf
-rw-r--r--  1 ramans ramans 531193 Oct 19 23:58 NOTICE
drwxr-xr-x  3 ramans ramans   4096 Dec 14 14:48 opt
drwxr-xr-x  2 ramans ramans   4096 Dec 14 14:48 lib
drwxr-xr-x  7 ramans ramans   4096 Dec 14 14:48 examples
drwxr-xr-x 10 ramans ramans   4096 Dec 14 14:48 plugins
drwxr-xr-x  2 ramans ramans   4096 Dec 14 14:48 licenses
drwxr-xr-x  2 ramans ramans   4096 Dec 14 14:48 bin
drwxr-xr-x  2 ramans ramans   4096 Dec 14 15:05 log
3. Start a Local Flink Cluster
In this step, we will start the local Flink cluster. Inside the flink-1.16.0 directory we will move to bin then submits the executable file to run the local Flink Cluster:
$ ./start-cluster.sh
Output :
ramans@infodiginet:~/flink-1.16.0/bin$ ./start-cluster.sh
Starting cluster.
Starting standalonesession daemon on host infodiginet.
Starting taskexecutor daemon on host infodiginet.
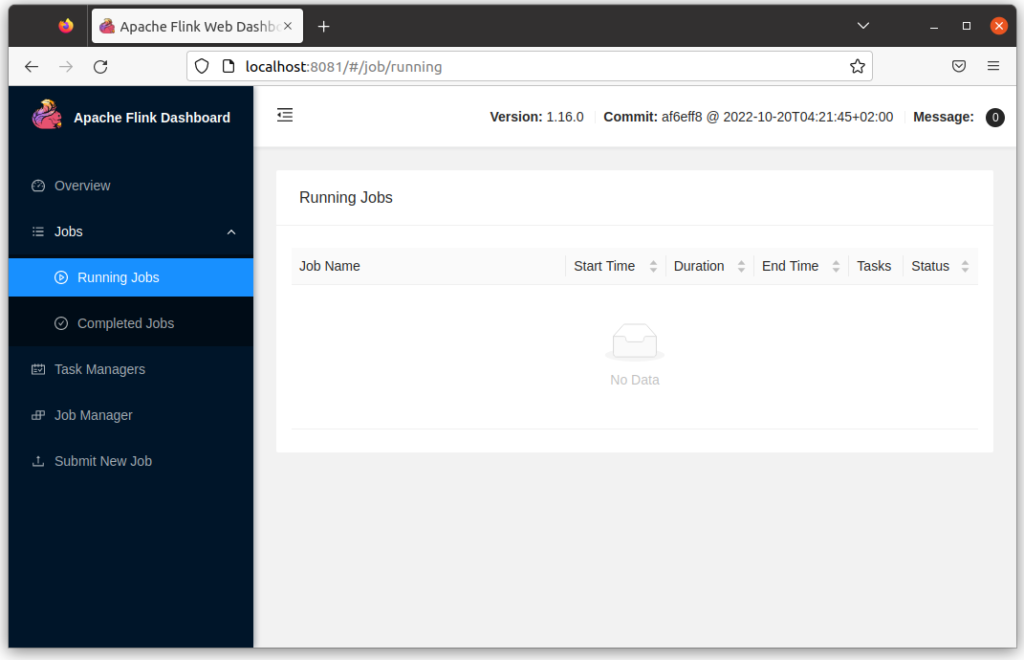
After starting cluster, we can monitor and access Apache Flik web interface which is located at http://server_ip_address_or_hostname:8081.
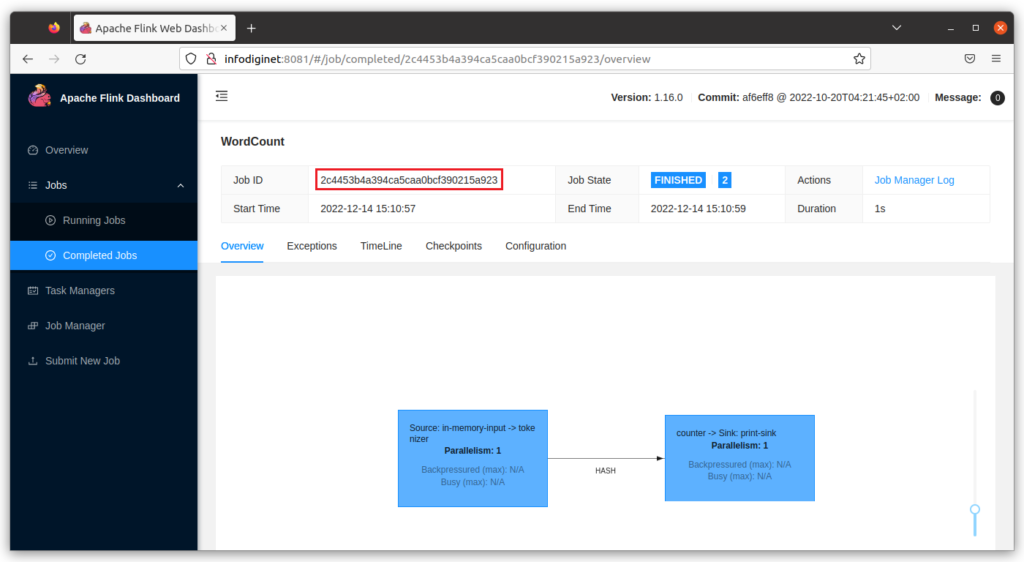
4. Submit a Job (Example)
For the example, we will submit a job to the Flink cluster. We will use the following command line :
./flink run /home/ramans/flink-1.16.0/examples/streaming/WordCount.jar
Output :
ramans@infodiginet:~/flink-1.16.0/bin$ ./flink run /home/ramans/flink-1.16.0/examples/streaming/WordCount.jar
Executing example with default input data.
Use --input to specify file input.
Printing result to stdout. Use --output to specify output path.
WARNING: An illegal reflective access operation has occurred
WARNING: Illegal reflective access by org.apache.flink.api.java.ClosureCleaner (file:/home/ramans/flink-1.16.0/lib/flink-dist-1.16.0.jar) to field java.lang.String.value
WARNING: Please consider reporting this to the maintainers of org.apache.flink.api.java.ClosureCleaner
WARNING: Use --illegal-access=warn to enable warnings of further illegal reflective access operations
WARNING: All illegal access operations will be denied in a future release
Job has been submitted with JobID 2c4453b4a394ca5caa0bcf390215a923
Program execution finished
Job with JobID 2c4453b4a394ca5caa0bcf390215a923 has finished.
Job Runtime: 1300 ms
The log will be reside at home/ramans/flink-1.16.0/log directory.
ramans@infodiginet:~/flink-1.16.0/log$ ls -ltr
total 136
-rw-rw-r-- 1 ramans ramans 26179 Dec 14 14:57 flink-ramans-taskexecutor-0-infodiginet.log.1
-rw-rw-r-- 1 ramans ramans 20854 Dec 14 14:57 flink-ramans-standalonesession-0-infodiginet.log.1
-rw-rw-r-- 1 ramans ramans   541 Dec 14 15:04 flink-ramans-standalonesession-0-infodiginet.out
-rw-rw-r-- 1 ramans ramans  7144 Dec 14 15:10 flink-ramans-client-infodiginet.log
-rw-rw-r-- 1 ramans ramans  3168 Dec 14 15:10 flink-ramans-taskexecutor-0-infodiginet.out
-rw-rw-r-- 1 ramans ramans 34625 Dec 14 15:16 flink-ramans-taskexecutor-0-infodiginet.log
-rw-rw-r-- 1 ramans ramans 30750 Dec 14 15:16 flink-ramans-standalonesession-0-infodiginet.log
5. Stop a Local Cluster
For stoping Flink cluster, we have had a reserverd command line. The execution of this script is as shown below :
$ ./stop-cluster.sh
Output :
ramans@infodiginet:~/flink-1.16.0/bin$ ./stop-cluster.sh
Stopping taskexecutor daemon (pid: 7231) on host infodiginet.
Stopping standalonesession daemon (pid: 6954) on host infodiginet.
Conclusion
On this short tutorial we have installed Apache Flink on Ubuntu 20.04 Linux operating system and start a local cluster then submit a new job successfully. I hope this article will be helpful for anyone who need it.